- Published on
Fluid simulation has long been one of the most visually compelling areas in computer graphics, widely used in games, visual effects, and real-time rendering to recreate the motion and behaviour of liquids. Among the different approaches, particle-based fluid simulation techniques are especially interesting because complex fluid motion emerges from local interactions between thousands of particles, making them both physically expressive and computationally challenging.
CaveXRT gradually evolved from a simple SPH-based GPU fluid simulation into a broader real-time graphics project featuring Position Based Fluids (PBF), screen-space fluid rendering, custom rendering pipelines, and eventually a cinematic workflow involving Blender and Unreal Engine 5.
The very first GPU particle simulation(L) and the final rendered fluid surface(R)
Starting with GPU Particles
The first version of CaveXRT was simply a GPU particle system built entirely using OpenGL compute shaders. Particles were initialized on a uniform grid and updated every frame using delta time integration. Initially, particles were rendered as simple colored points. Even though the visuals were primitive, this stage established the entire GPU simulation pipeline that the rest of the project would build upon. I also implemented basic collisions against bounding boxes along with velocity damping to stabilize particle motion after collisions.
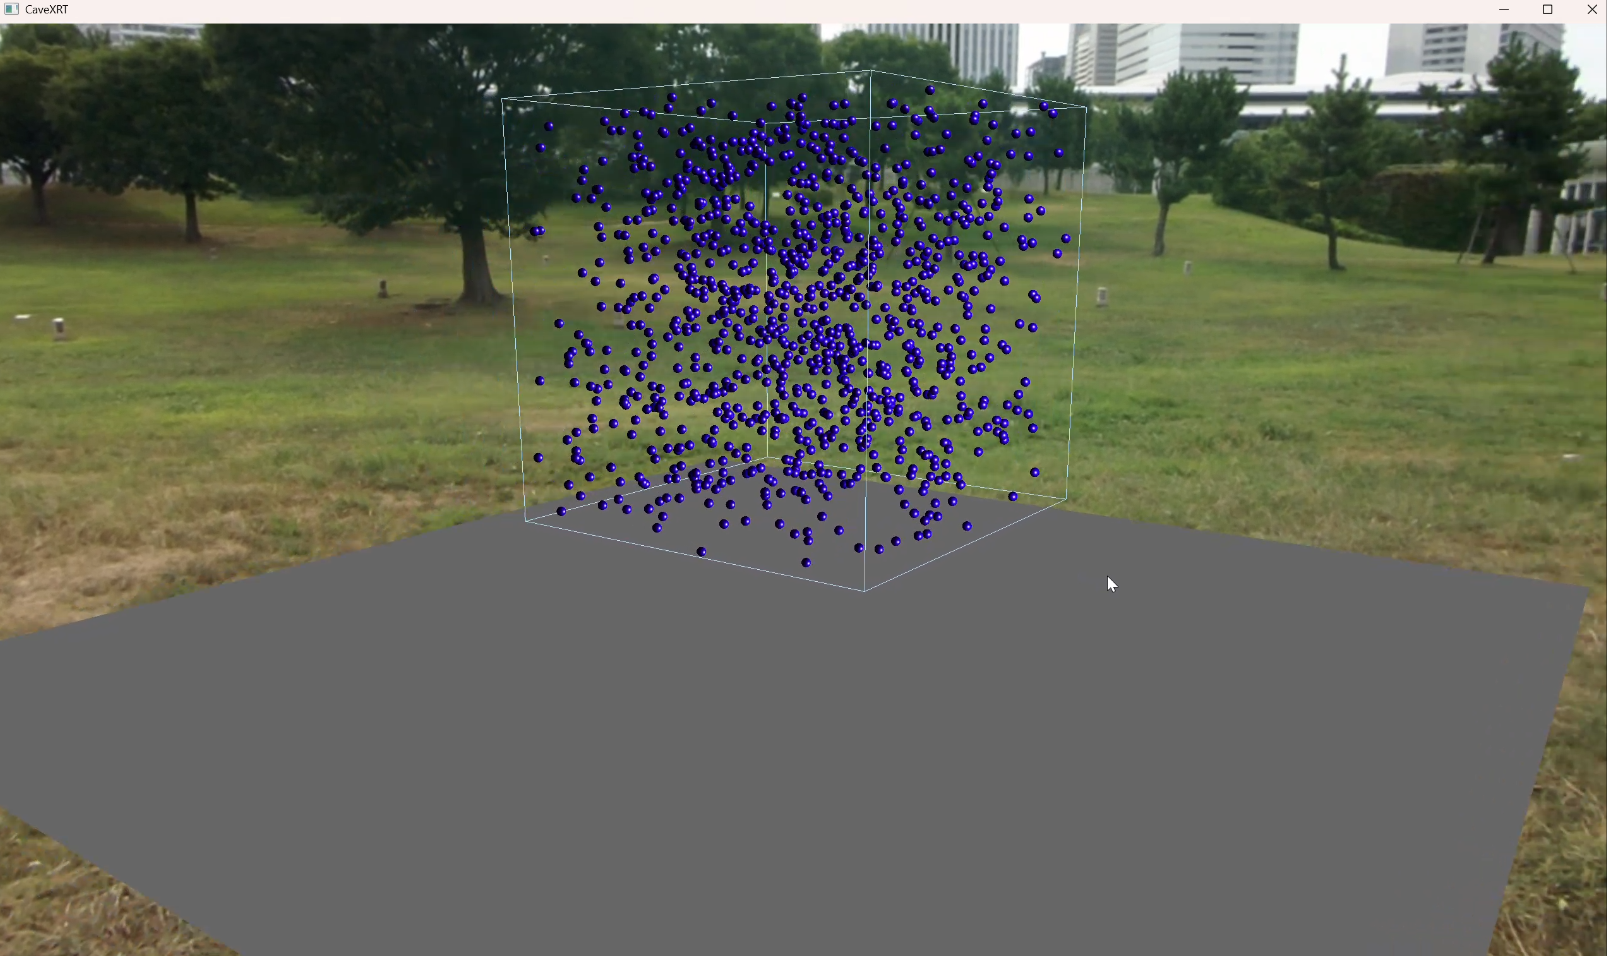
Early particle visualization and bounding box
At this point, the biggest challenge became neighbour search. A naive particle simulation where every particle checks against every other particle quickly becomes too expensive. To solve this, I implemented a GPU accelerated uniform spatial grid. Particles were assigned to grid cells every frame and sorted entirely on the GPU using compute shader passes.
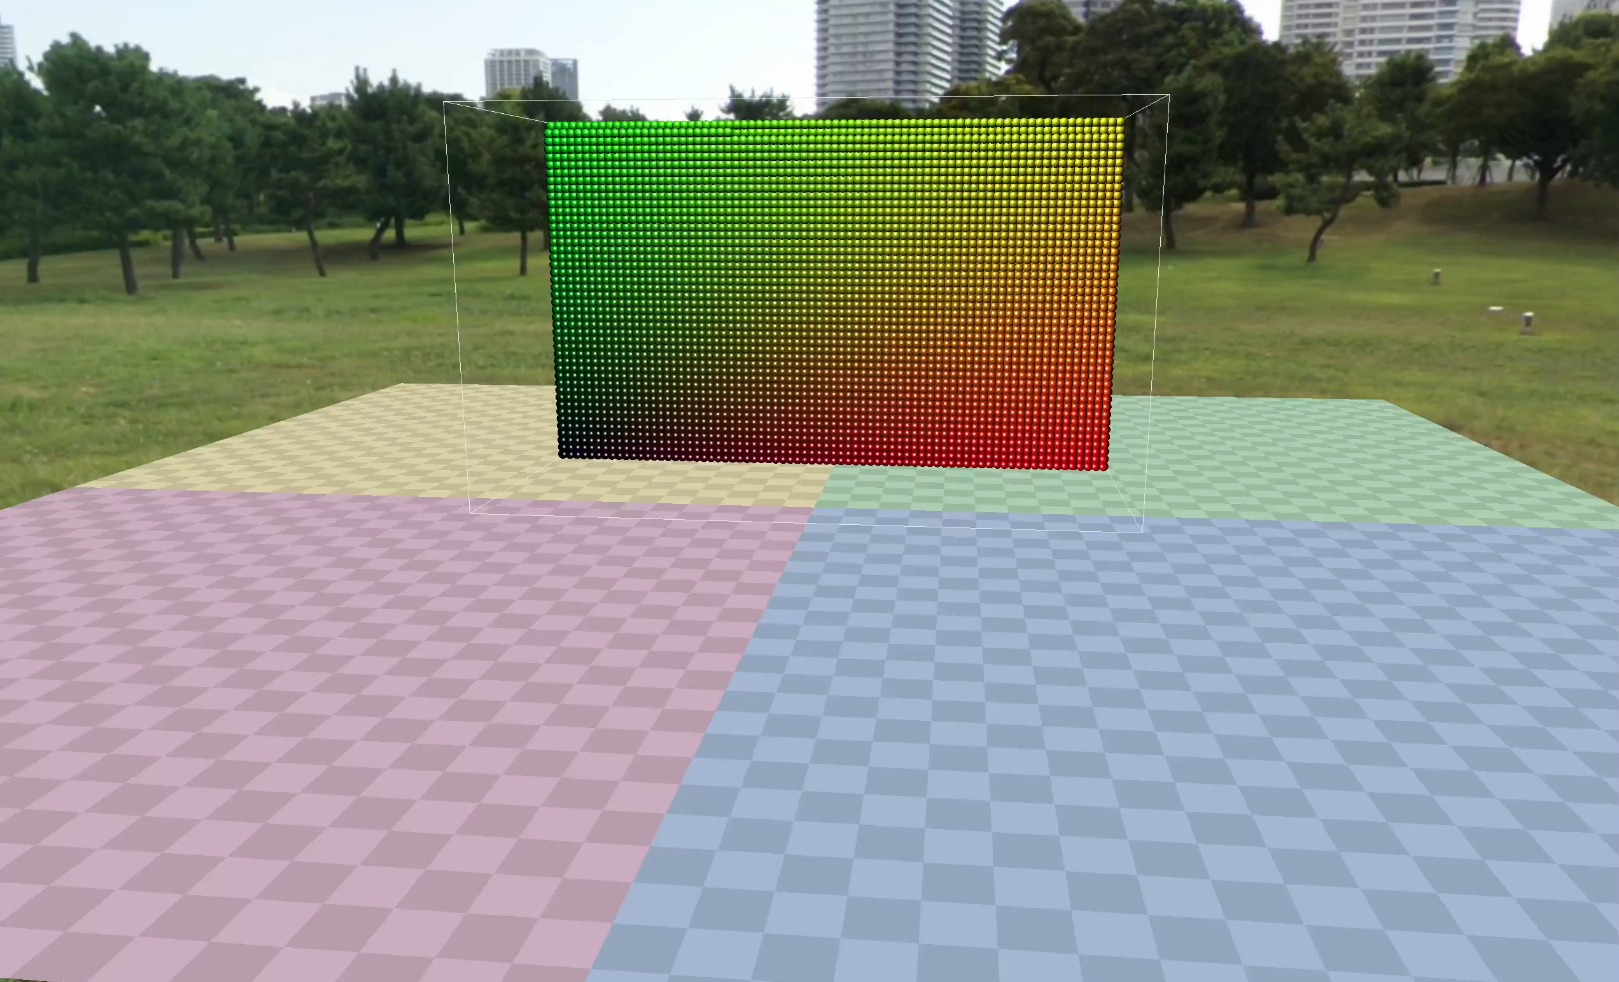
Visualizing the GPU uniform grid and particle cell assignments
The grid construction pipeline consisted of several compute shader stages:
- Grid clear pass
- Particle counting pass
- Prefix scan / offset computation
- Particle sorting pass
Keeping the entire pipeline GPU-driven avoided CPU synchronization overhead and made neighbour queries efficient enough for real-time simulation.
Smoothed Particle Hydrodynamics (SPH)
Once neighbour search was working, I moved towards implementing Smoothed Particle Hydrodynamics (SPH), a particle-based simulation method where the fluid is represented as a set of discrete particles carrying physical properties such as position, velocity, density, and pressure. Particle properties are computed using weighted contributions from neighbouring particles within a smoothing radius defined by a kernel function.
The first SPH stage implemented in CaveXRT was the density computation pass.
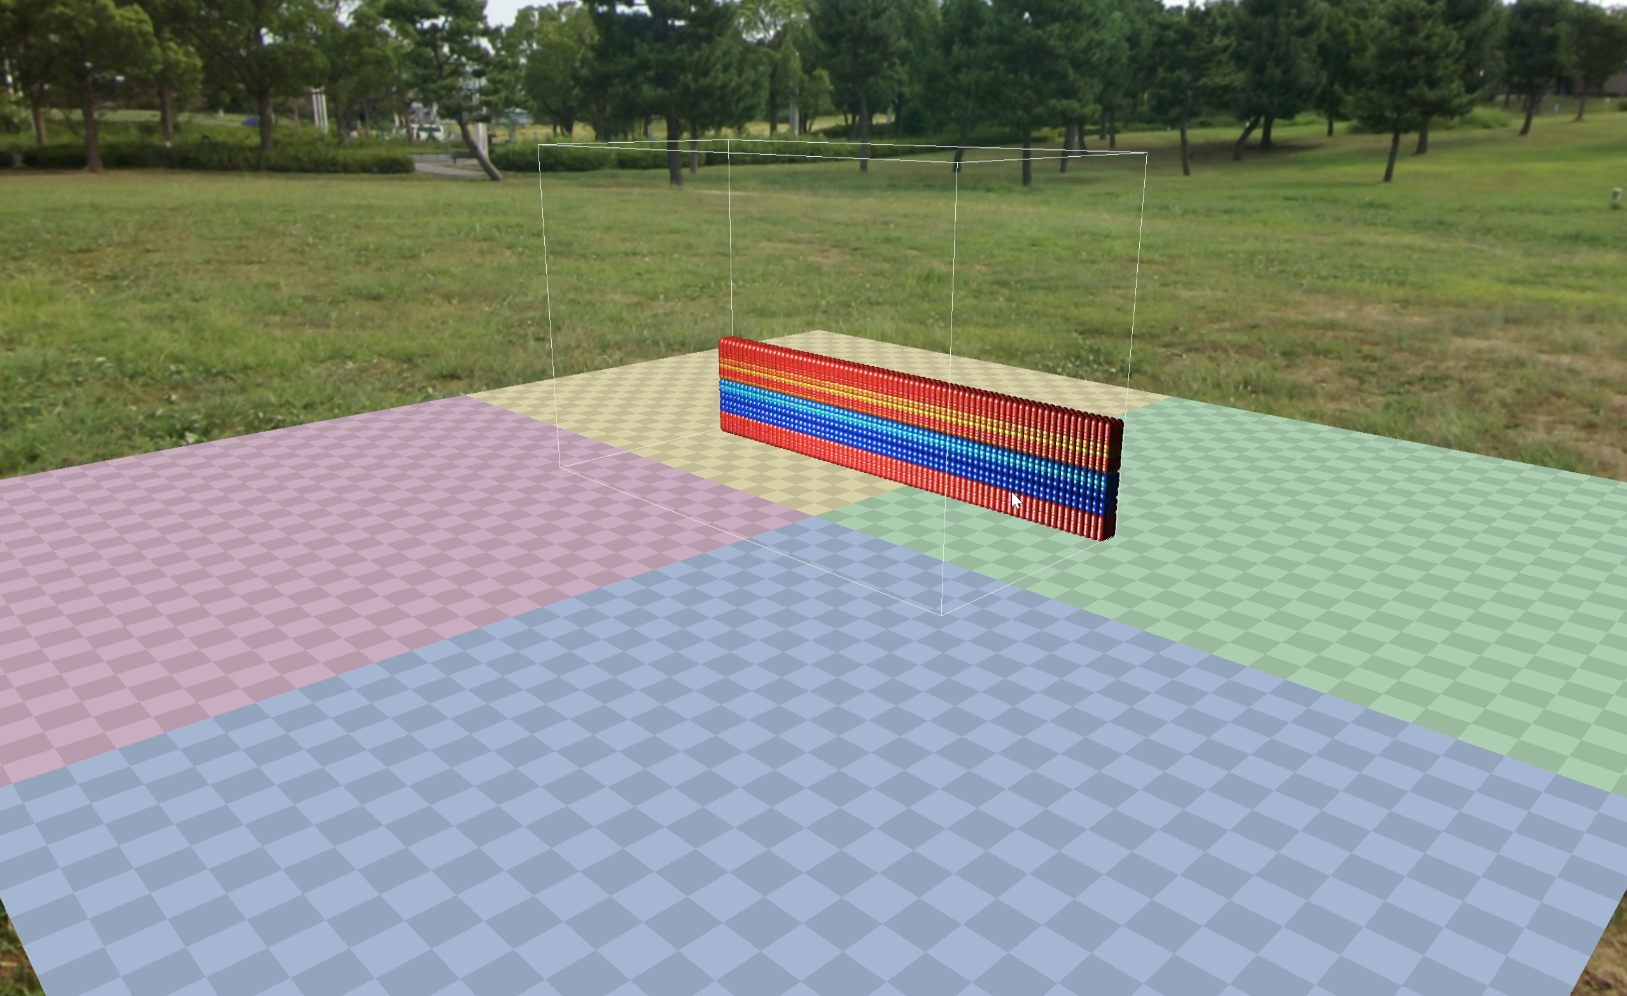
Density visualization using color variation
Each particle computes density contributions from nearby particles using a smoothing kernel. The smoothing radius was chosen relative to the particle radius and mapped directly to the uniform grid cell size to balance neighbour coverage and performance. Gravity was also introduced at this stage, allowing the particles to exhibit more natural collective motion and interaction within the simulation domain.
Viscosity and Pressure Forces
Viscosity forces smooth velocity differences between particles and help stabilize motion. Using the GPU uniform grid, each particle only searches neighboring cells in a 3×3×3 region instead of the entire particle set.
The viscosity coefficient had a major impact on fluid behaviour:
- Lower values produced energetic water-like motion
- Higher values generated thicker fluid behaviour similar to syrup
The pressure solver became the core of the SPH implementation. Pressure forces were computed using the gradient spiky kernel along with:
- Rest density
- Stiffness constant
- Density deviation correction
Tuning these parameters correctly was critical for stable incompressible behaviour.
Position Based Fluids (PBF)
After SPH, I explored Position Based Fluids (PBF) as an alternative simulation method. Instead of solving pressure forces explicitly, PBF directly corrects particle positions through iterative constraint solving.
The pipeline included:
- Predict position pass
- Lambda computation pass
- Delta position correction pass
- Integration pass
I also implemented:
- XSPH viscosity
- Vorticity confinement
Vorticity confinement made a massive visual difference because it restored small swirling turbulent motion lost during numerical dissipation.
PBF simulation before and after secondary passes like vorticity confinement
Screen Space Fluid Rendering
Rendering the particles directly as sphere impostors still produced a disconnected particle-like appearance rather than a continuous fluid surface. To achieve a smoother liquid representation, I implemented a screen-space fluid rendering pipeline that reconstructs the fluid surface using depth and thickness information generated from the particles.
The rendering pipeline consisted of:
- Fluid depth pass
- Thickness accumulation pass
- Narrow range filtering
- Normal reconstruction
- Final composite shading
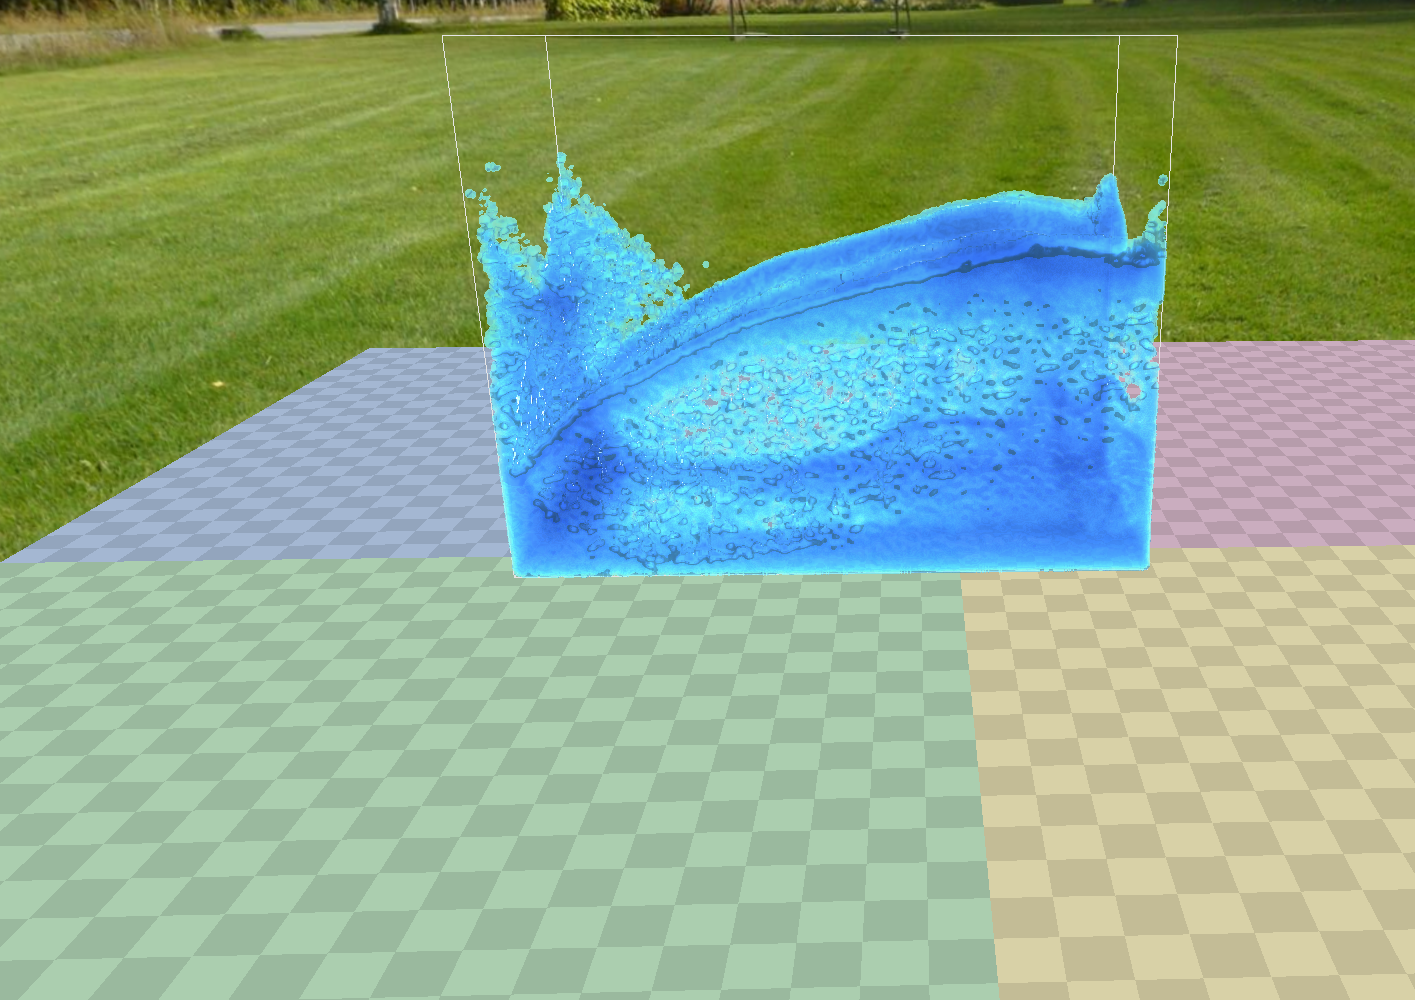
Screen-space rendering pipeline with narrow range filtering
The fluid depth texture was filtered using a narrow-range filter to smooth noisy particle surfaces while preserving thin structures and sharp edges.
The final composite pass added:
- Fresnel reflections
- Refraction
- Specular highlights
- Absorption
- Environment reflections
This stage transformed the simulation visually from “particles” into something that finally resembled fluid.
Exporting the Simulation
Once the simulation and rendering pipeline were stable, I wanted to push CaveXRT beyond a standalone graphics demo. I wrote a custom particle exporter which stores particle positions frame-by-frame and used the exported data to generate an Alembic geometry cache for importing the simulation into Unreal Engine 5 for cinematic rendering.
This stage introduced an entirely new learning curve involving:
- Blender geometry workflows
- Mesh conversion
- Unreal Engine Sequencer
- Geometry caches
- Cinematic lighting and rendering
Final Cinematic
What started as a GPU fluid simulation project eventually evolved into a complete cinematic workflow. The final sequences were rendered in Unreal Engine 5 using exported simulation data from CaveXRT as Alembic geometry caches, along with additional scene assembly work and cinematic sequences created using different camera rig setups.
Final cinematic render created using CaveXRT simulations inside Unreal Engine 5
CaveXRT started as an experiment in GPU simulation, but over time it became a much broader exploration of graphics programming, rendering pipelines, tools, and cinematic workflows.
There are still many things I want to improve:
- Better PBF optimization
- Rigid body coupling
- Improved fluid meshing
- Thickness filtering
- OpenVDB workflows
- Larger scale simulations
But reaching the point of producing a complete cinematic sequence from my own simulation engine was already an incredibly rewarding milestone.